Updated on June 5, 2015
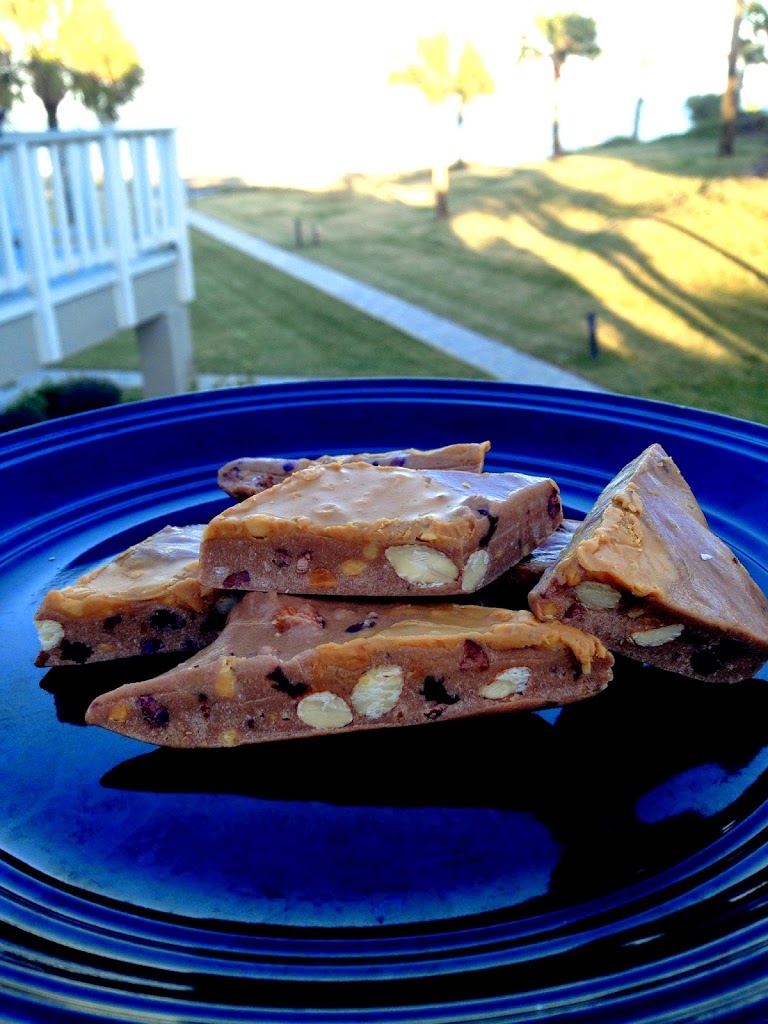
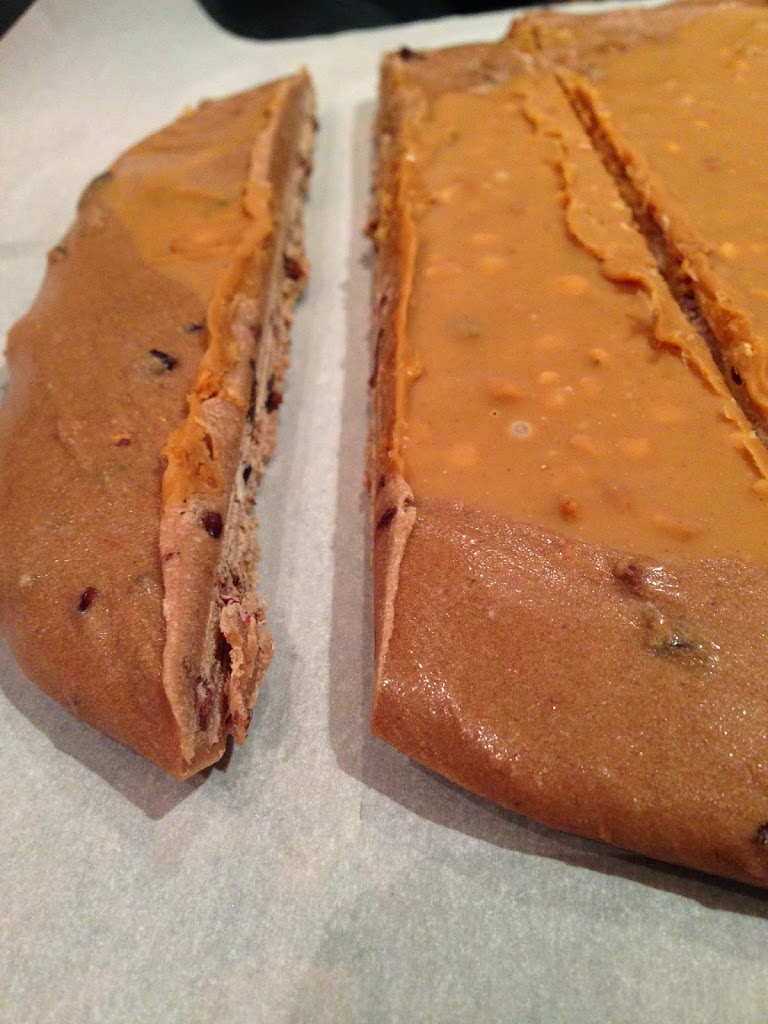
Low Net Carb Peanut Butter Fudge- Made with VitaFiber!
Forget Quest Bars- at over $2.00 bar, why not have a fresh bar customized to your liking?
Use this recipe to whip up your own protein bars with VitaFiber Syrup. It will significantly decrease your cost per bar and will have fresh, healthy ingredients that help feed and repair your muscles!
This low-carb, sweet syrup is key to so many great recipes that I will be unveiling over the next few weeks. Everything from muffins to protein bars, granola bars, and tasty cookies have been getting created and perfected in my kitchen with this versatile ingredient!
VitaFiber syrup is low calorie, high fiber, and full of prebiotics that help keep your gut healthy! Talk about a win-win-win 😉
For more information about the syrup’s health benefits, go to this link.
Okay, enough about the syrup. Time to reveal a fudge that’s low carb, high protein, sweet, rich, and absolutely taste-test approved by the sugarholics that live around me.
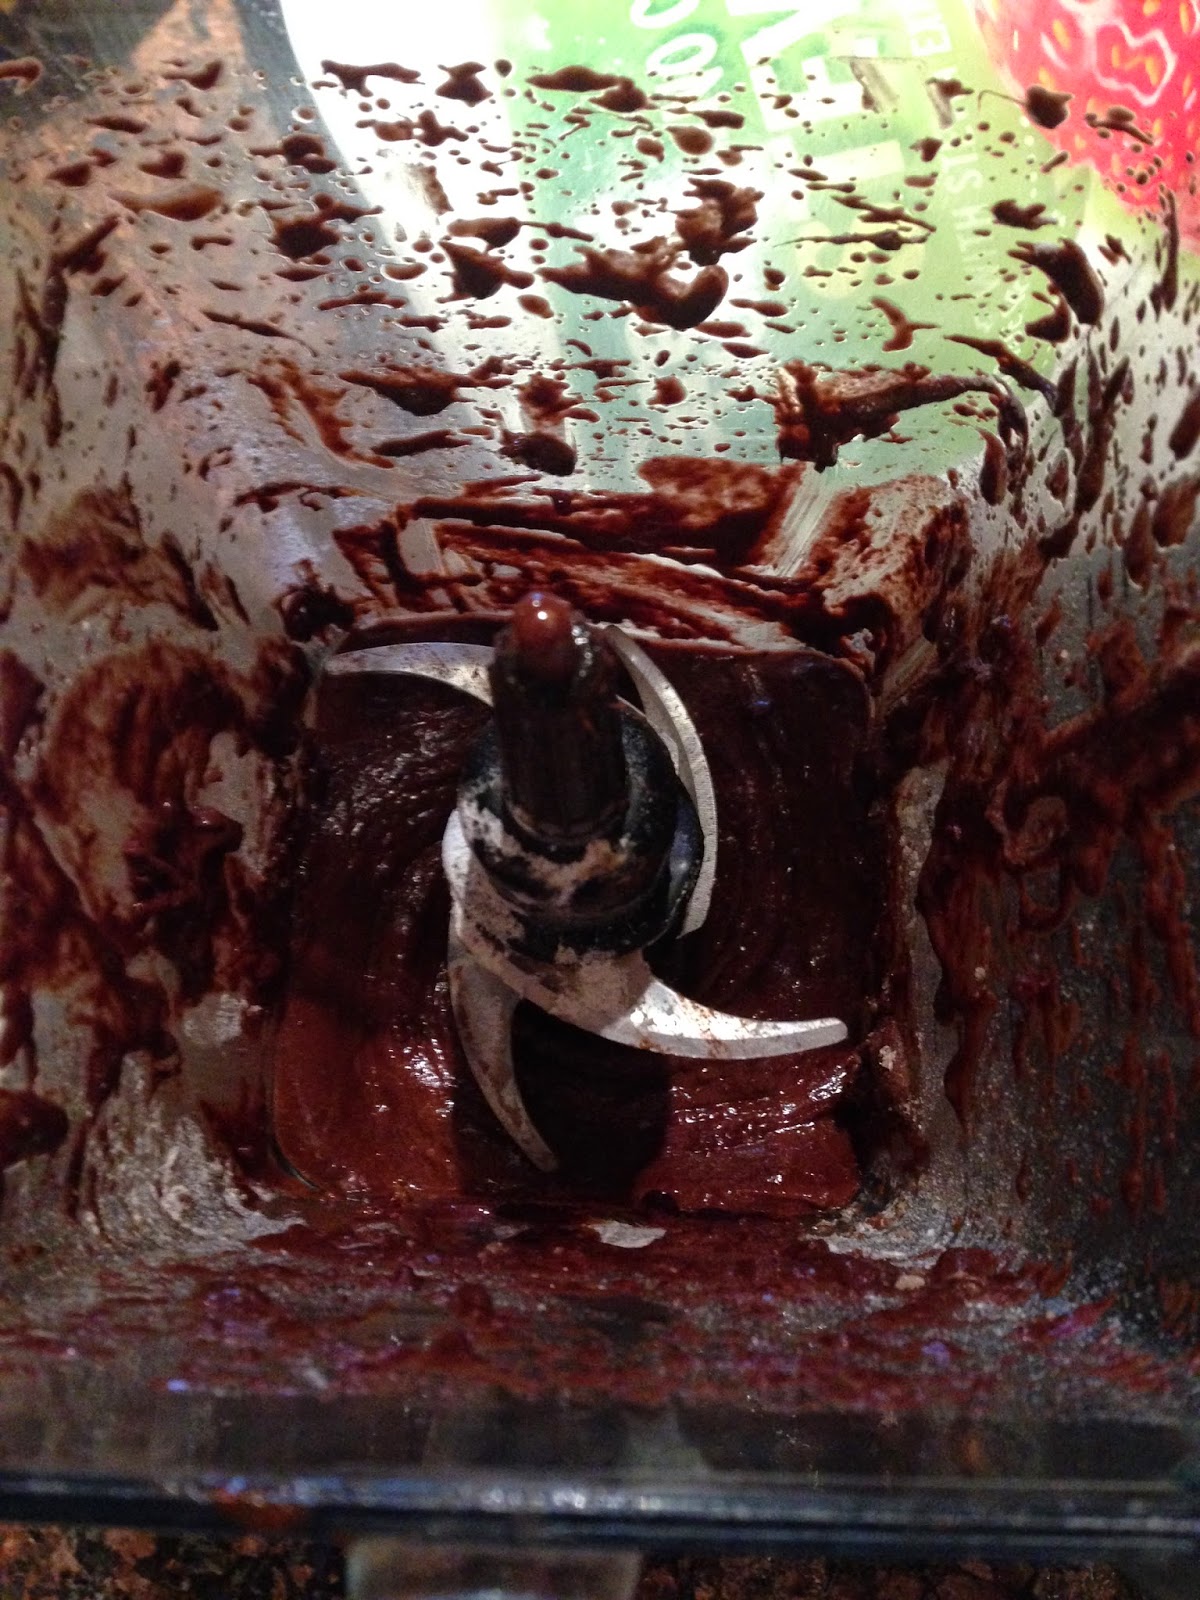
Step By Step Process with pictures!

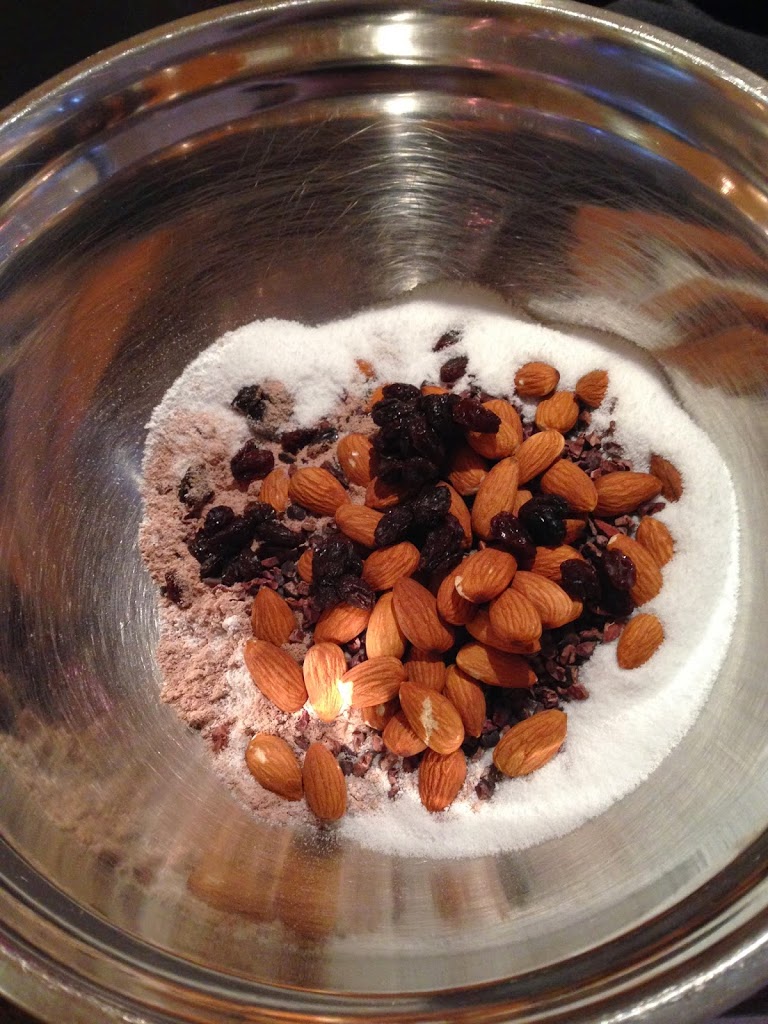
2) Mix all dry ingredients in a large bowl. (Protein powder, stevia, cacao nibs, almonds, raisins)
3) Put all wet ingredients in a microwave safe bowl. (Coconut oil, Peanut Butter, VitaFiber) and heat for 2 minutes and 30 seconds on high. Make sure you have oven mitts nearby, this bowl will be hot!


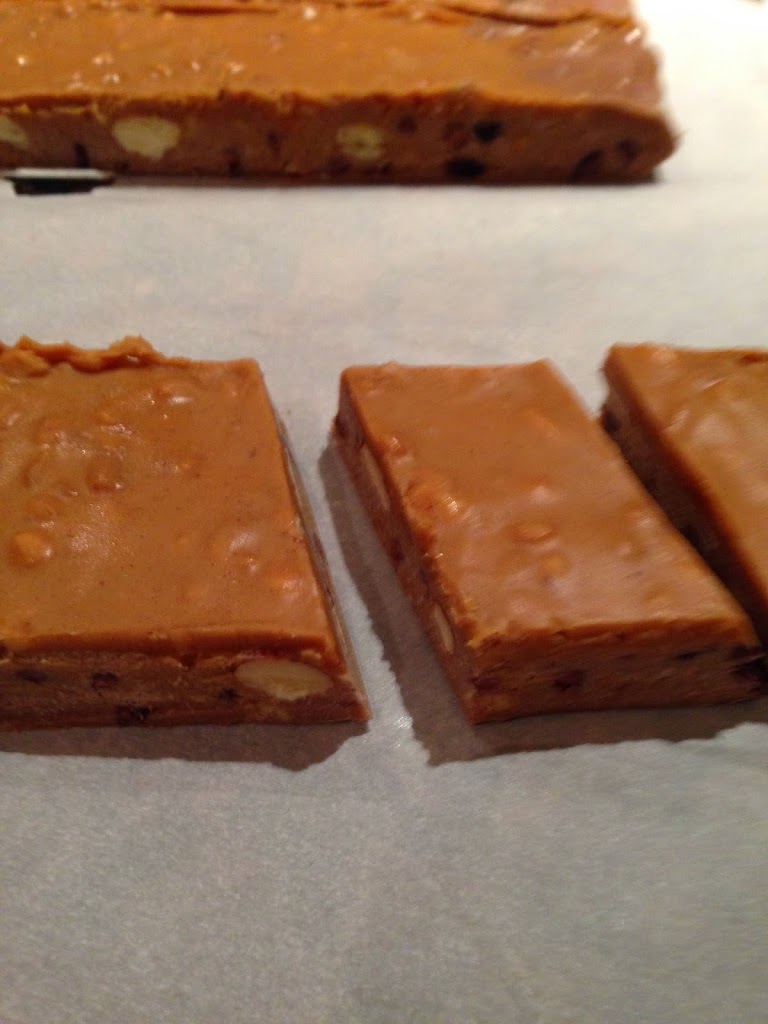
5) Now heat the remaining peanut butter for 25-35 seconds, and spoon over the top.

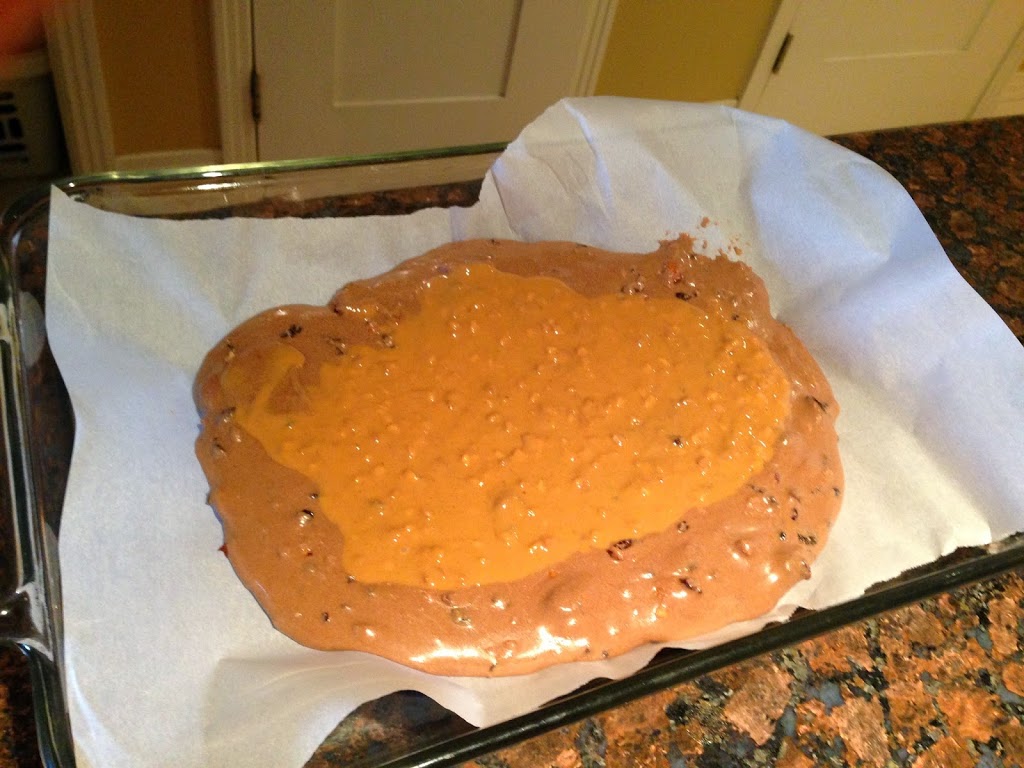
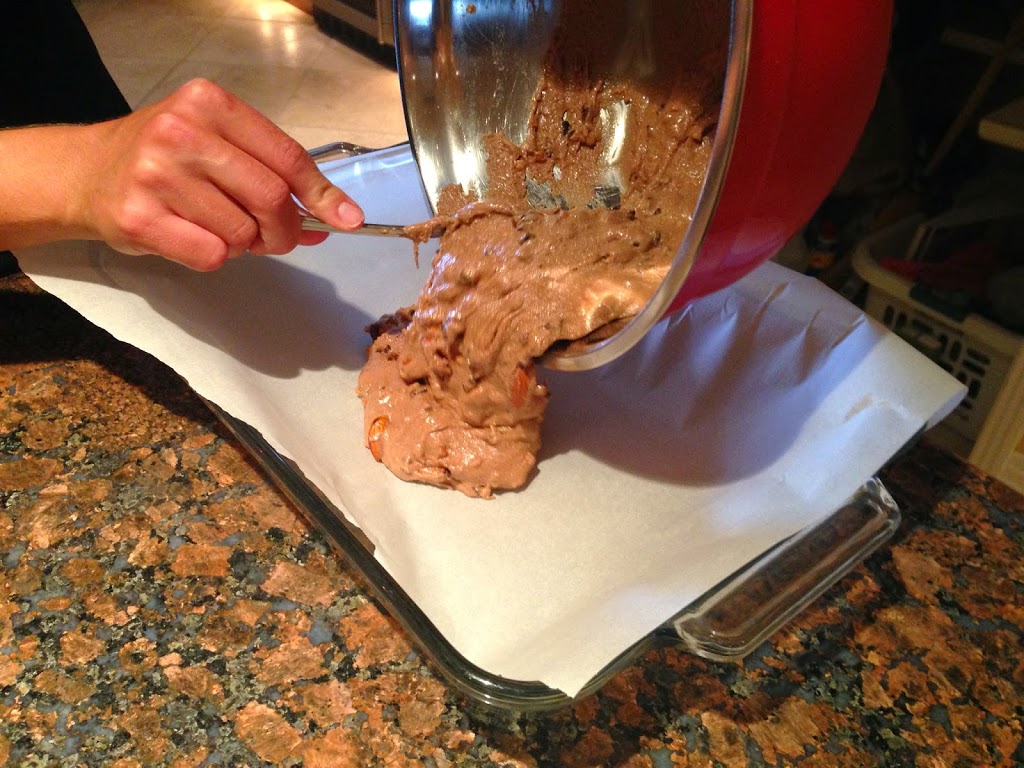
6) Your mixture is ready for the freezer! Freeze for one hour, then cut into your desired size pieces. If it’s too hard to cut, allow it to sit out for about 3 minutes, then cut it. Store in the refrigerator for up to one week.

Updated on December 3, 2014
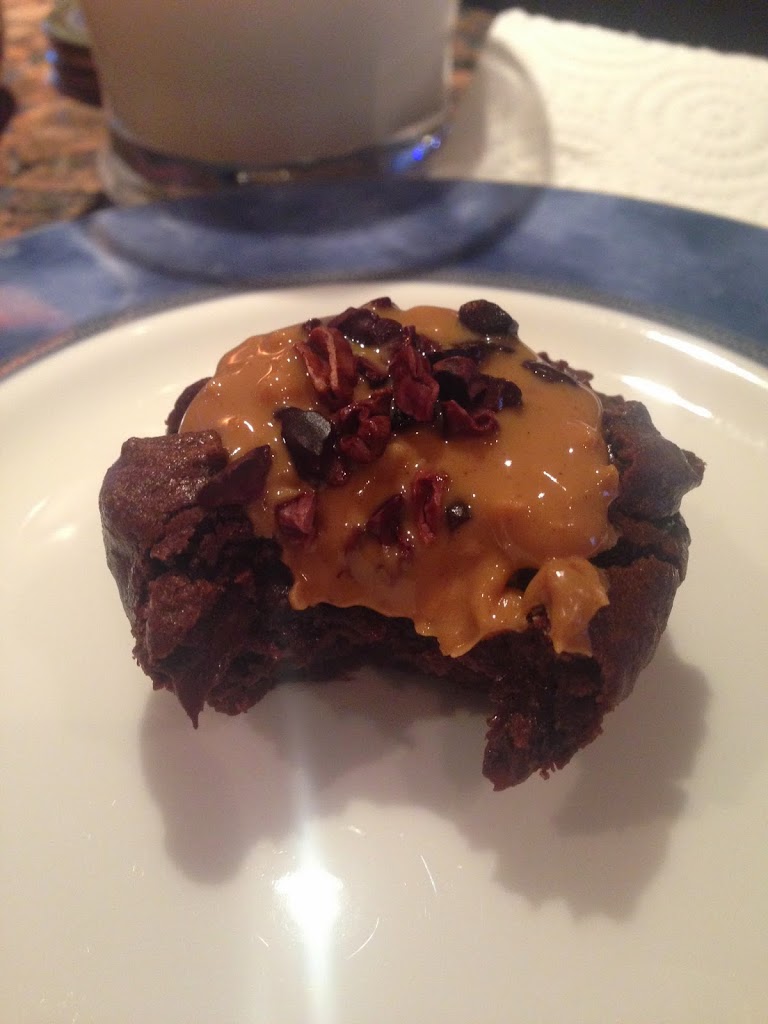
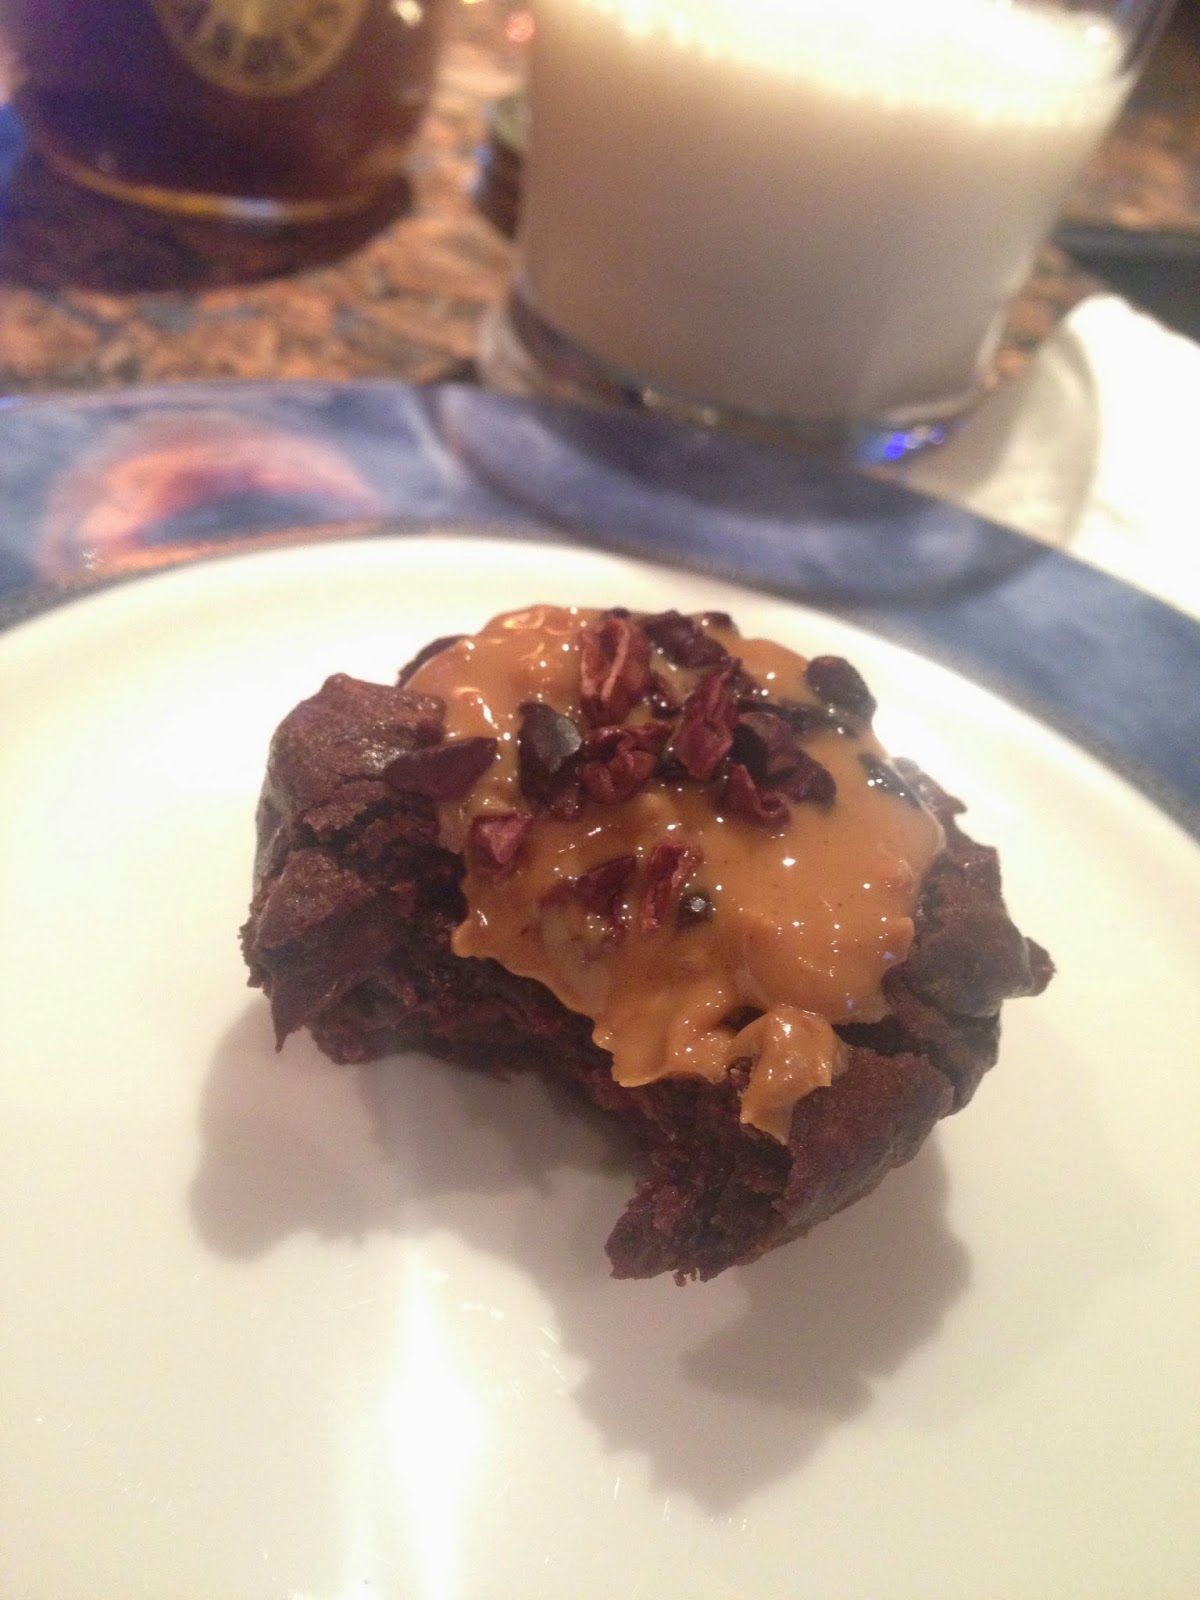
Ultimate Brownies (Made with Superfoods)
These brownies are unbelievably delicious. You can serve them at a party and not a single soul will guess they have any nutritional value.


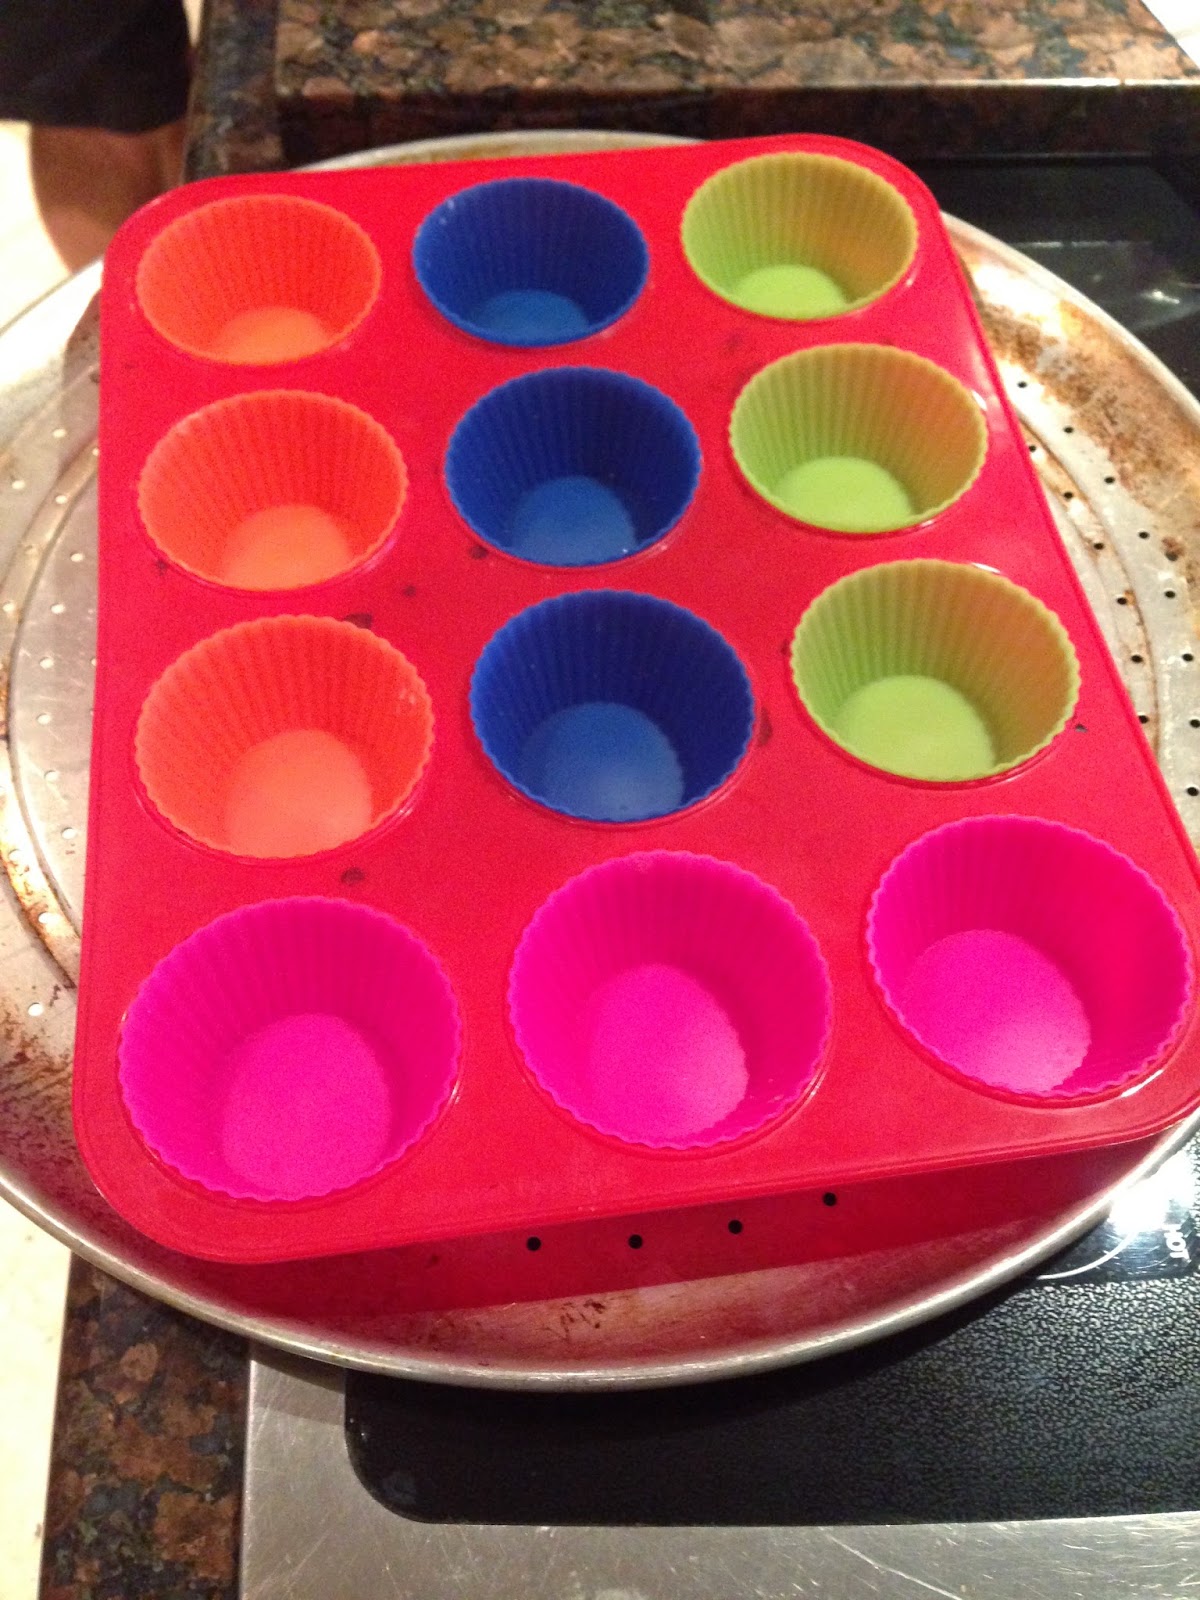
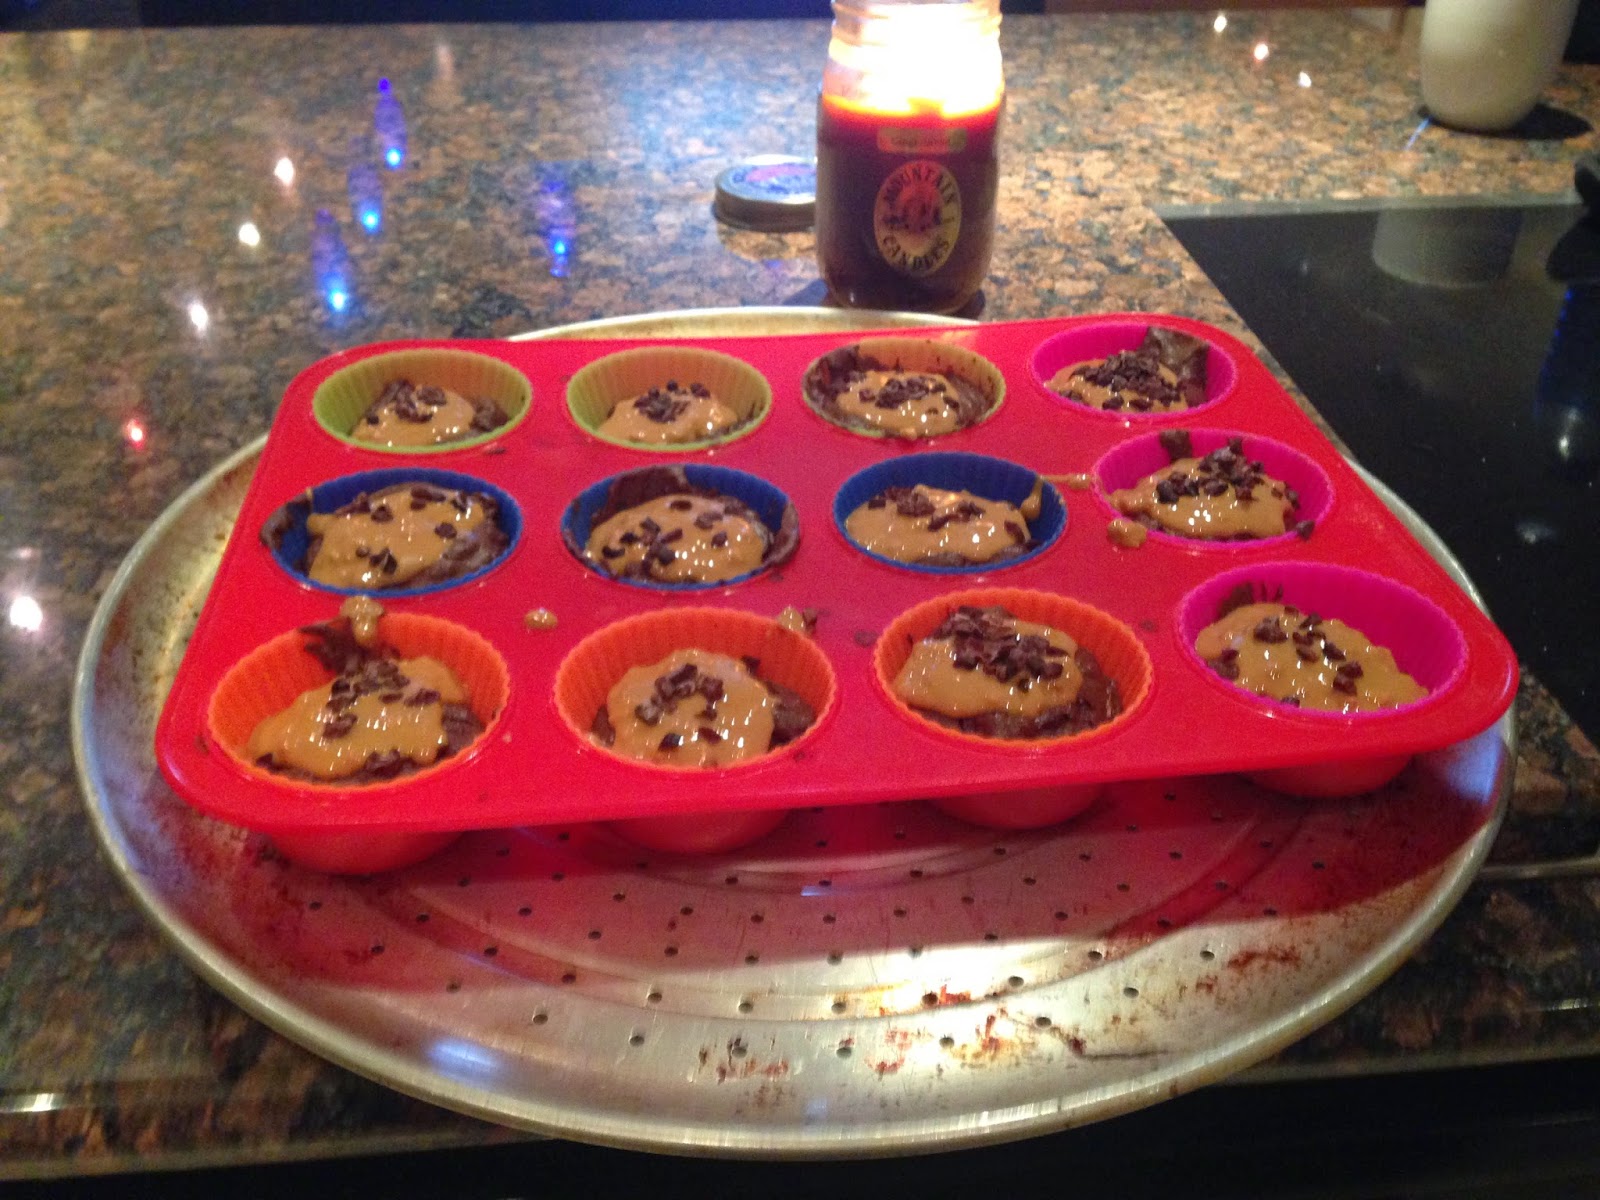
Line a muffin pan with 12 liners, I used silicone molds with a silicone muffin pan.
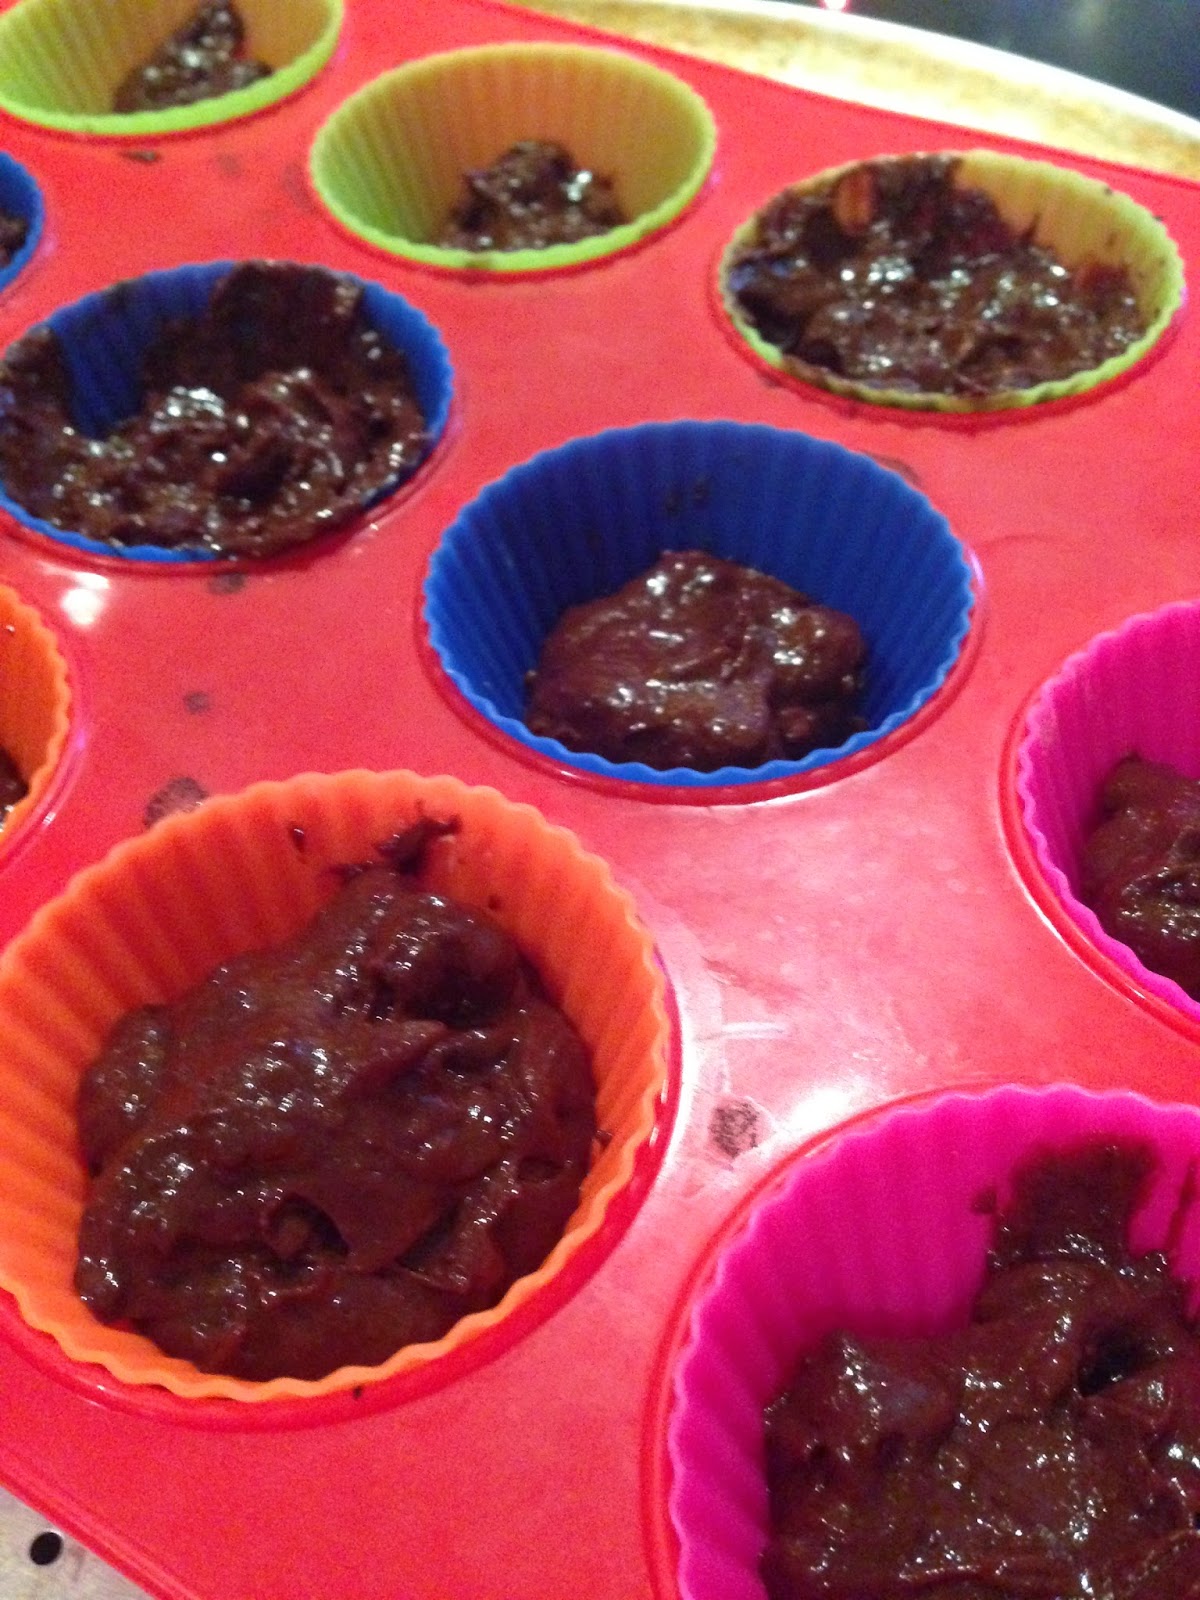
Take the brownie mixture from the blender and transfer to a bowl. Make sure it has cooled down a little bit. Stir in 1 cup of dark chocolate morsels. After mixing in the chocolate chips, evenly divide the batter among the 12 muffin liners and bake for 15-16 minutes.
A toothpick tested in the brownies may still look kind of wet, it’s okay!
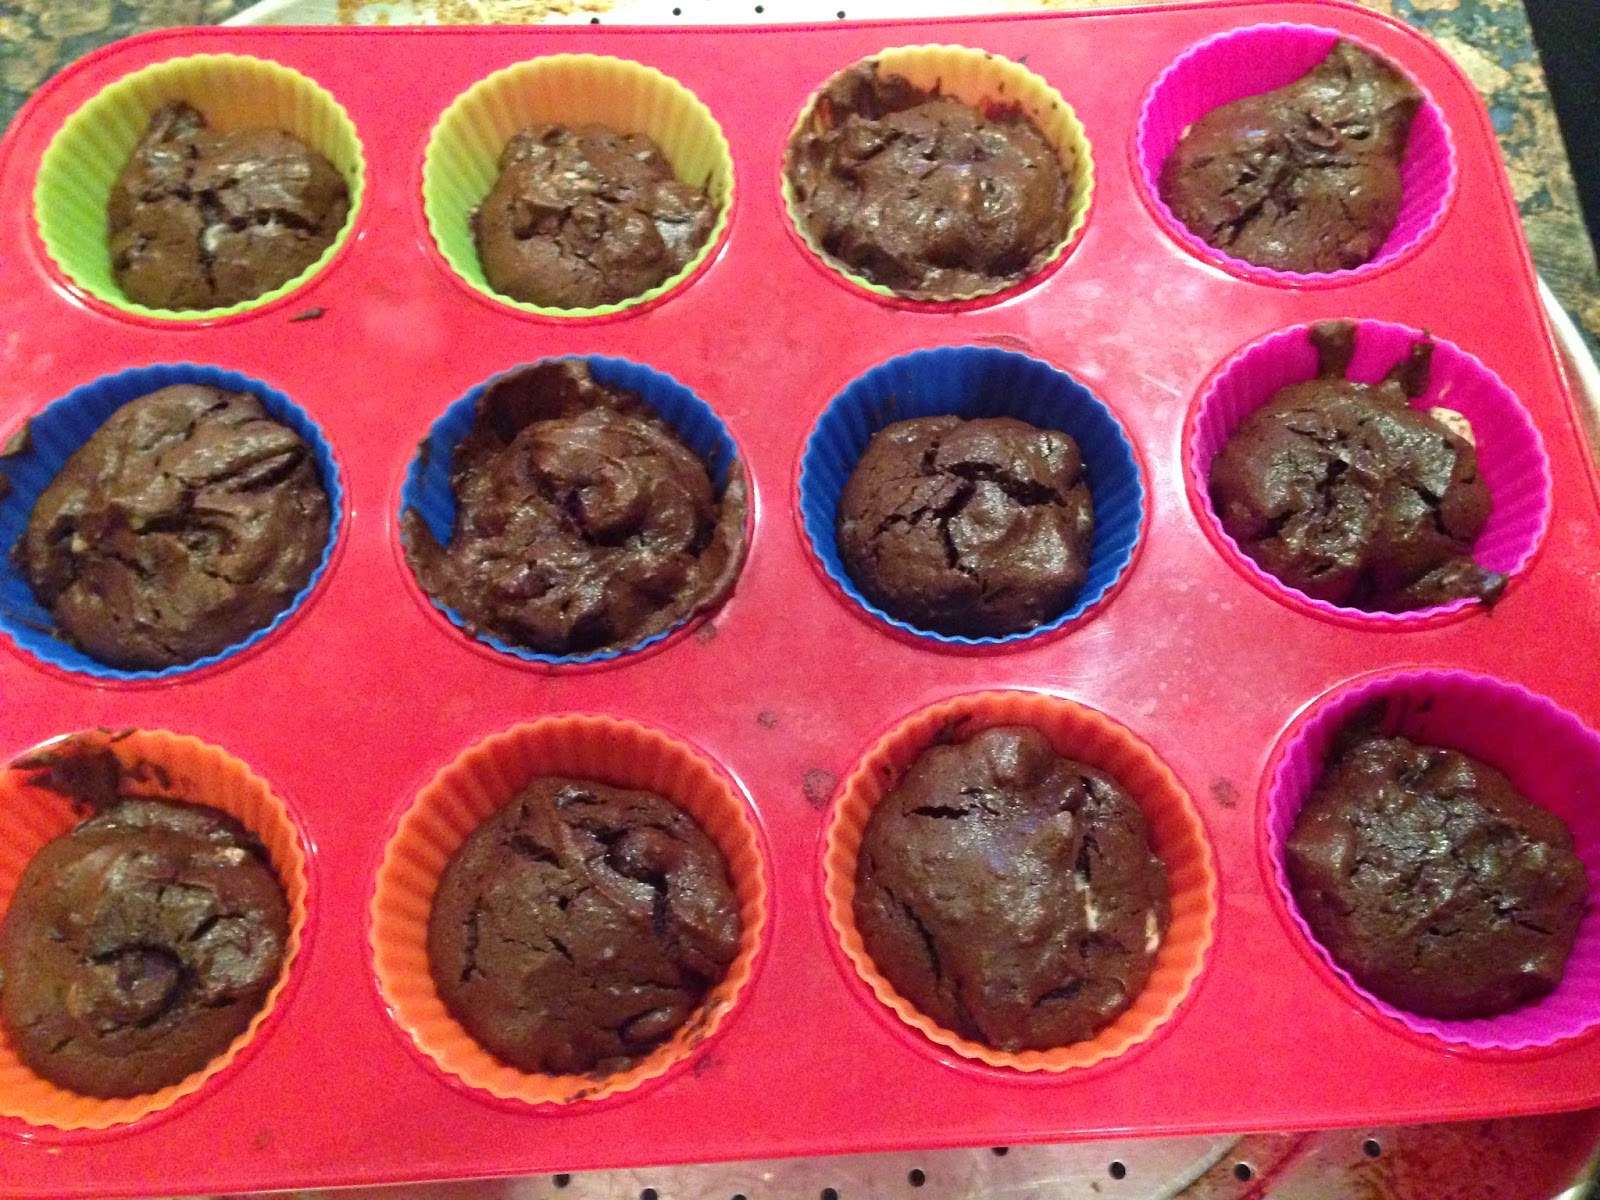
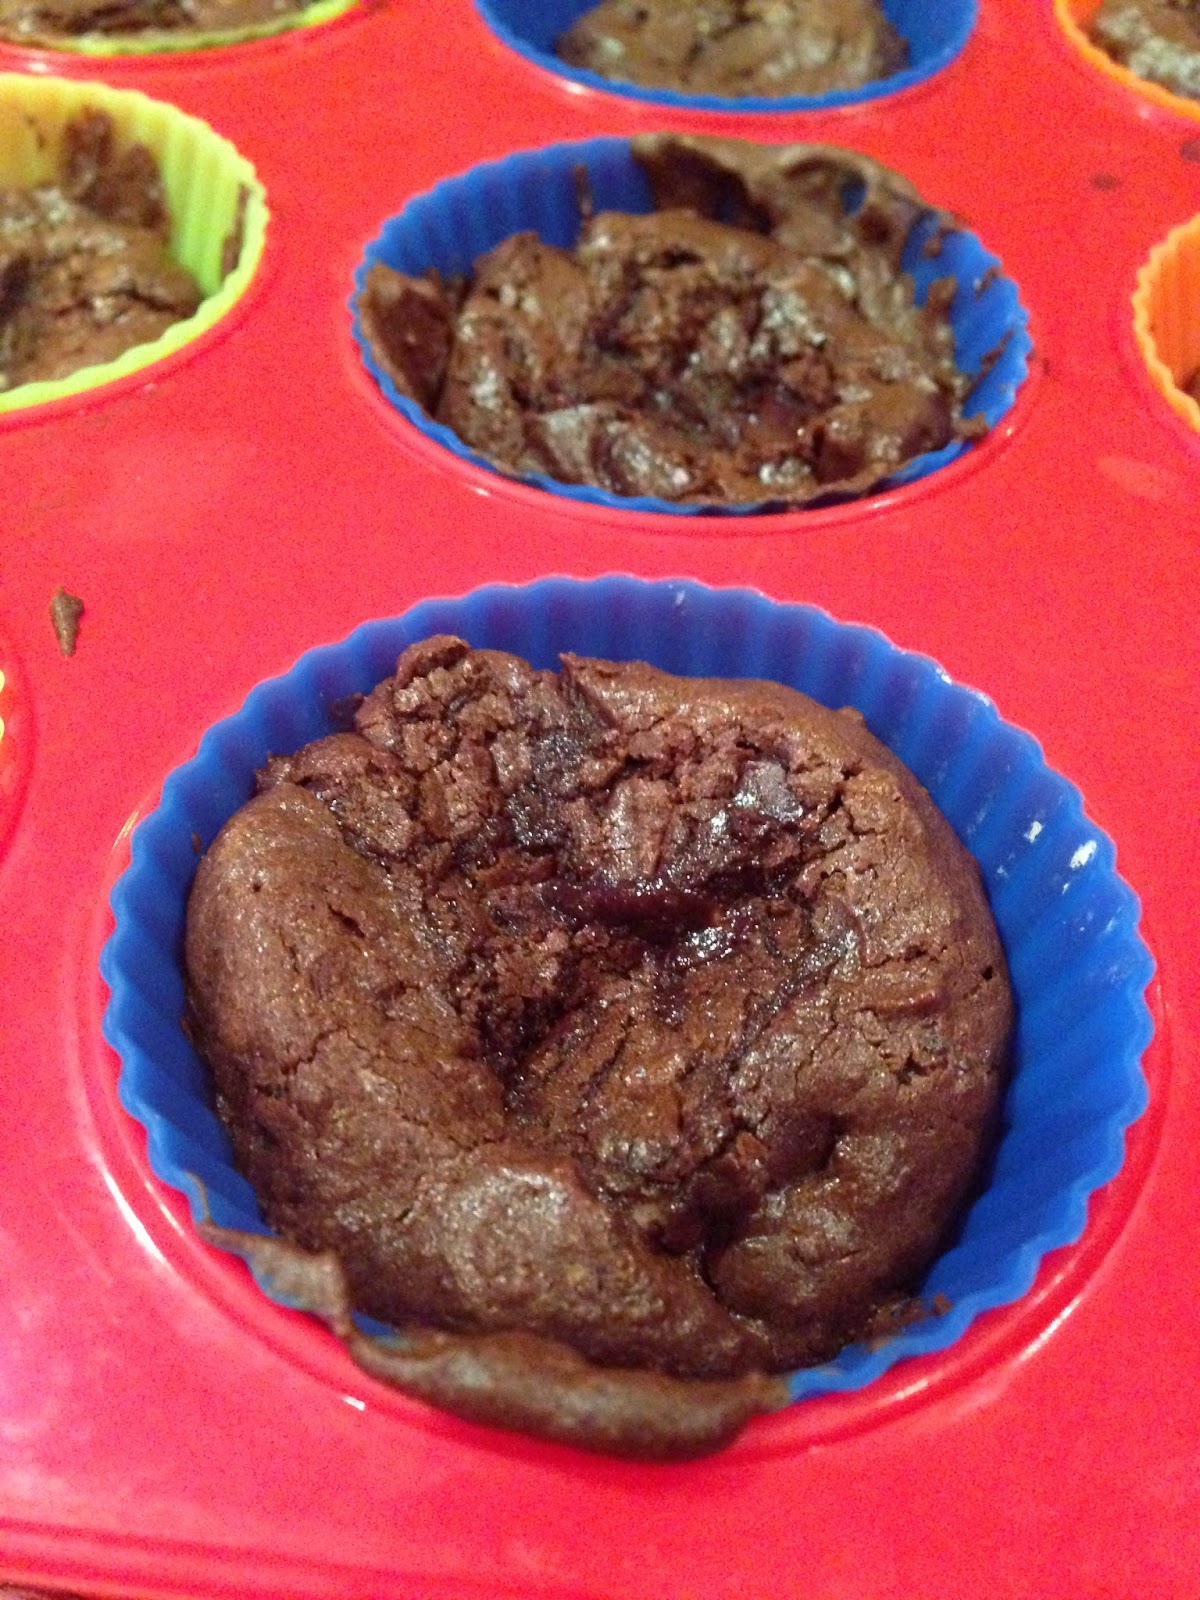
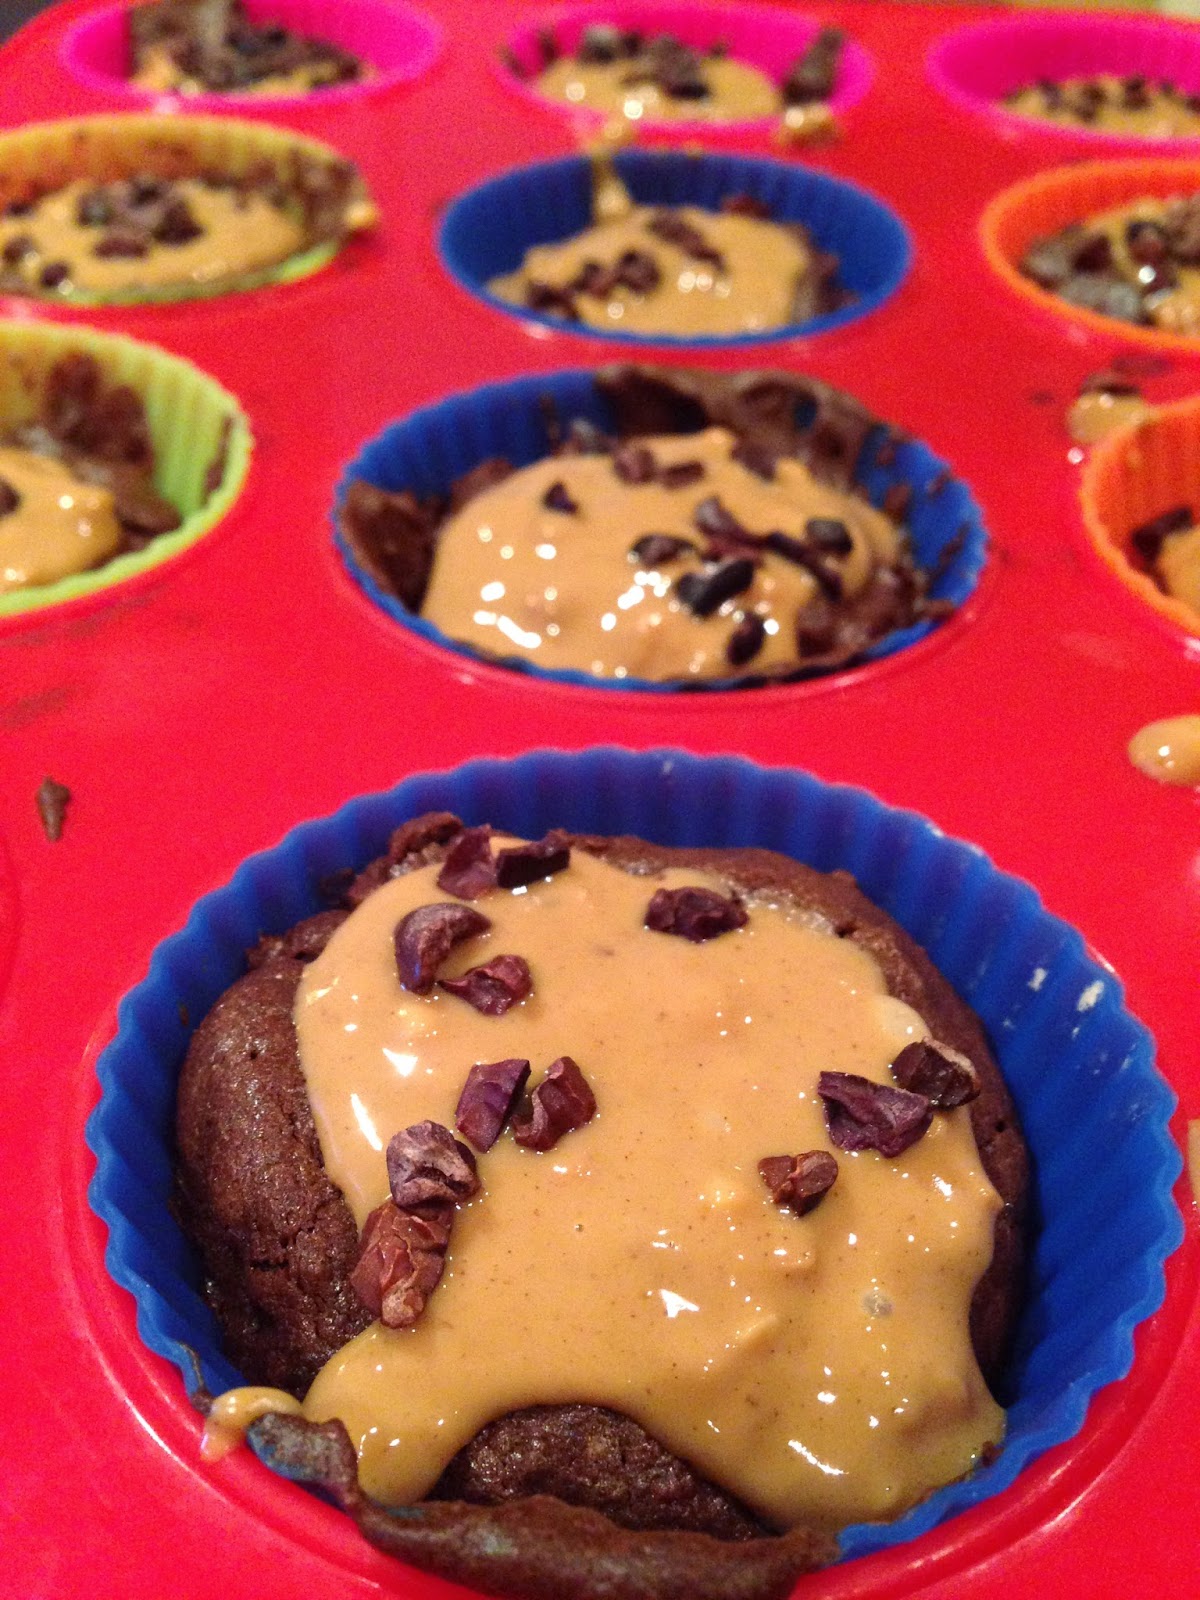
Next microwave the peanut butter for 45 seconds. Stir the peanut butter then add it into the centers of the brownies. Next, garnish the brownies with some cacao nibs. Allow the brownies to cool to room temperature. I left them out for about an hour to an hour and a half.
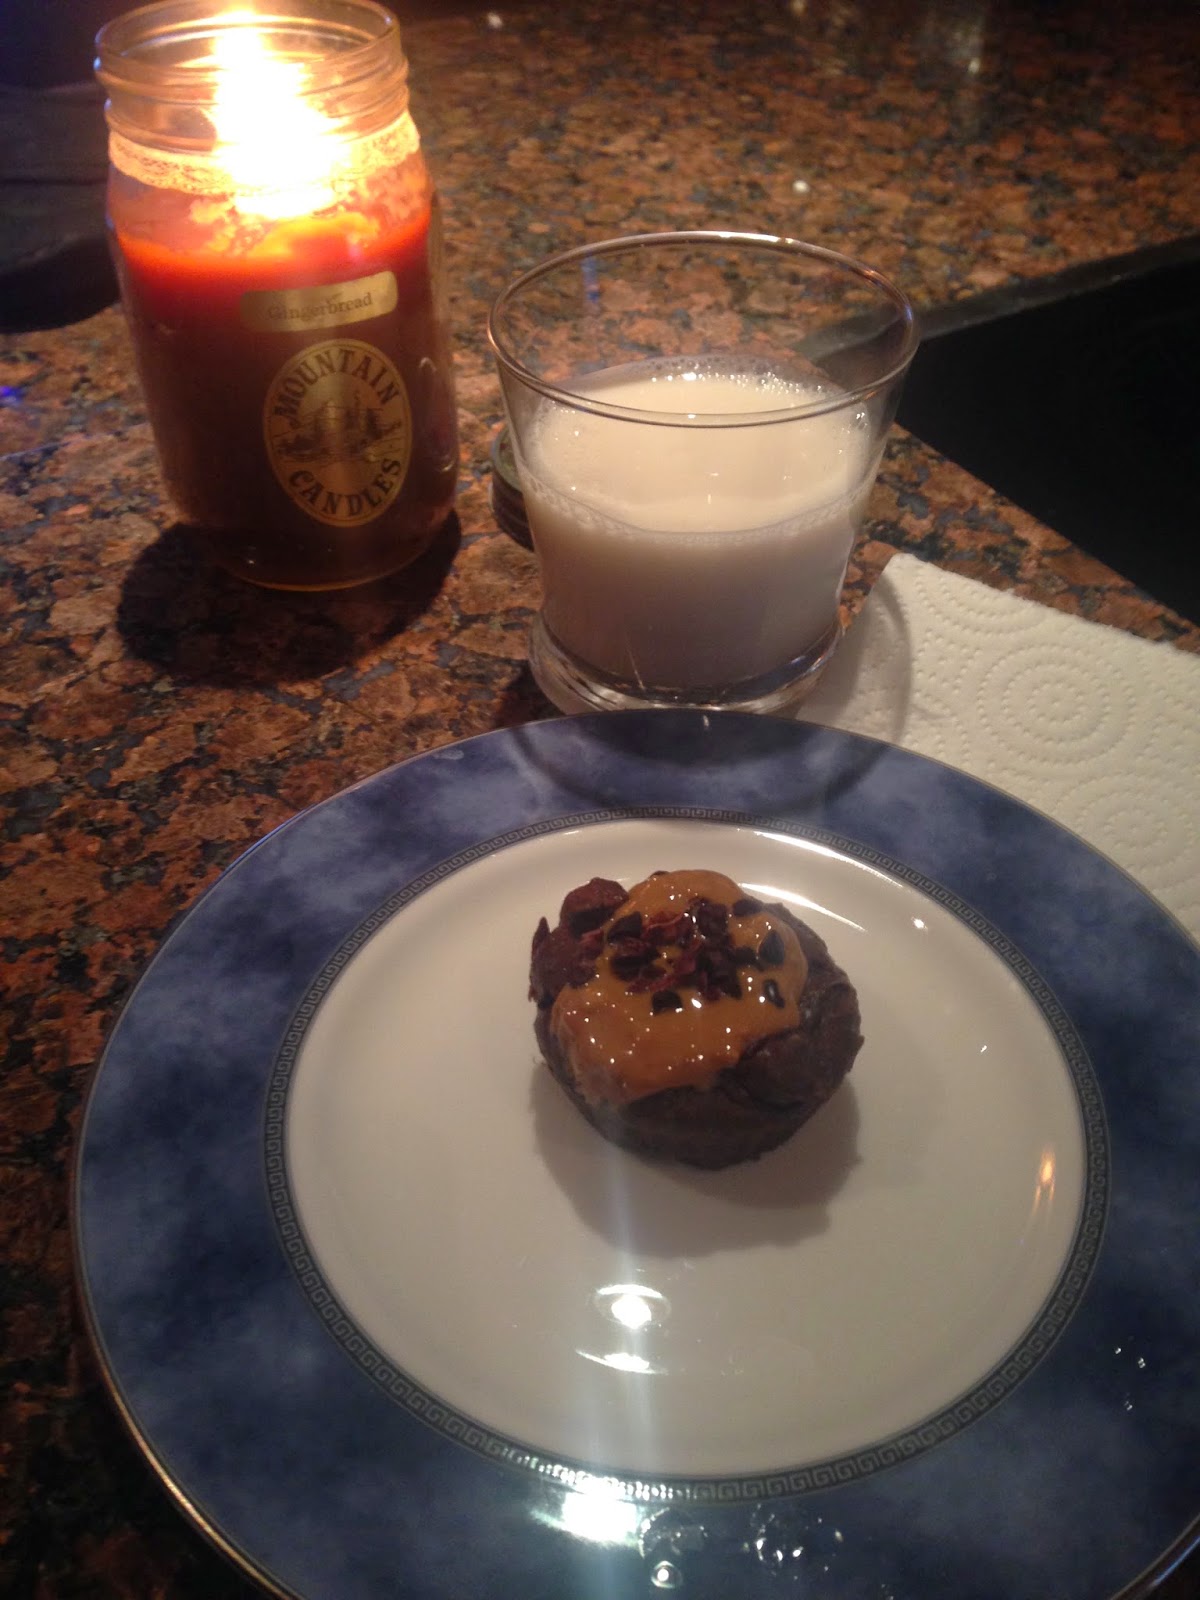
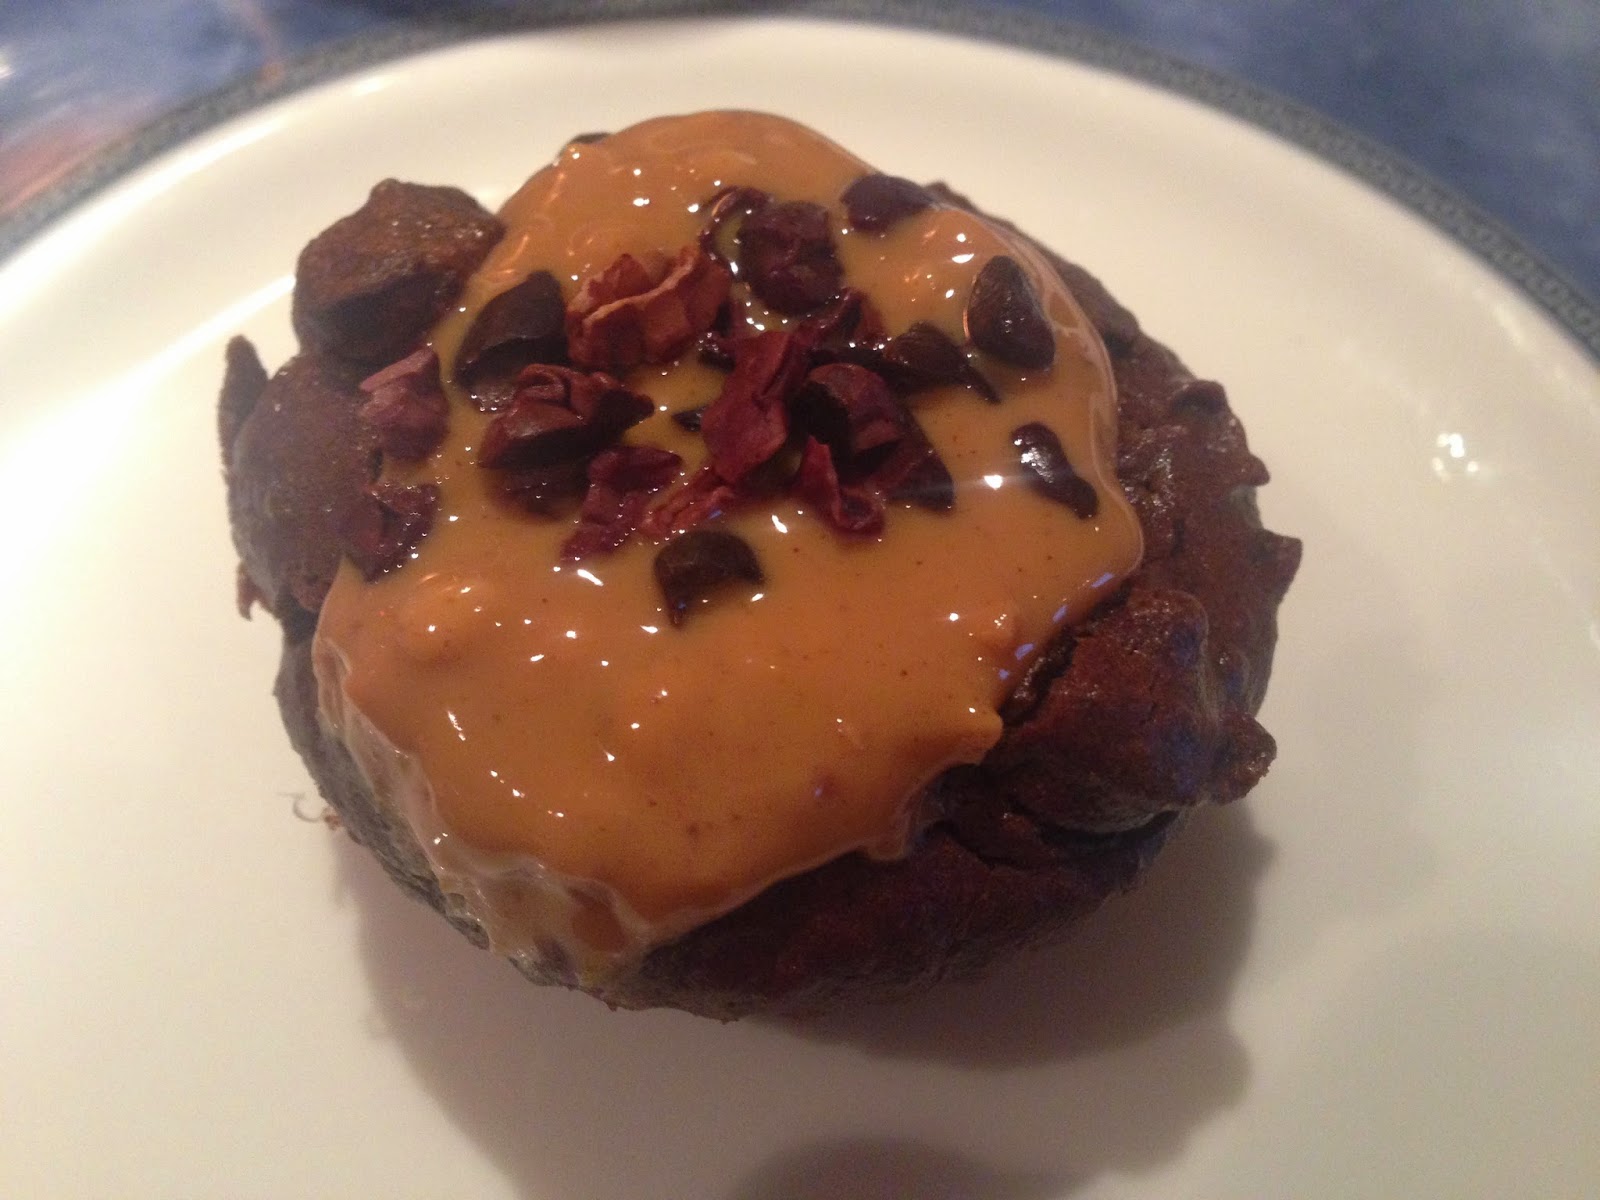
Once cooled, ENJOY!
You may store in the fridge or at room temperature. (I personally store mine in the fridge)

Updated on June 19, 2015
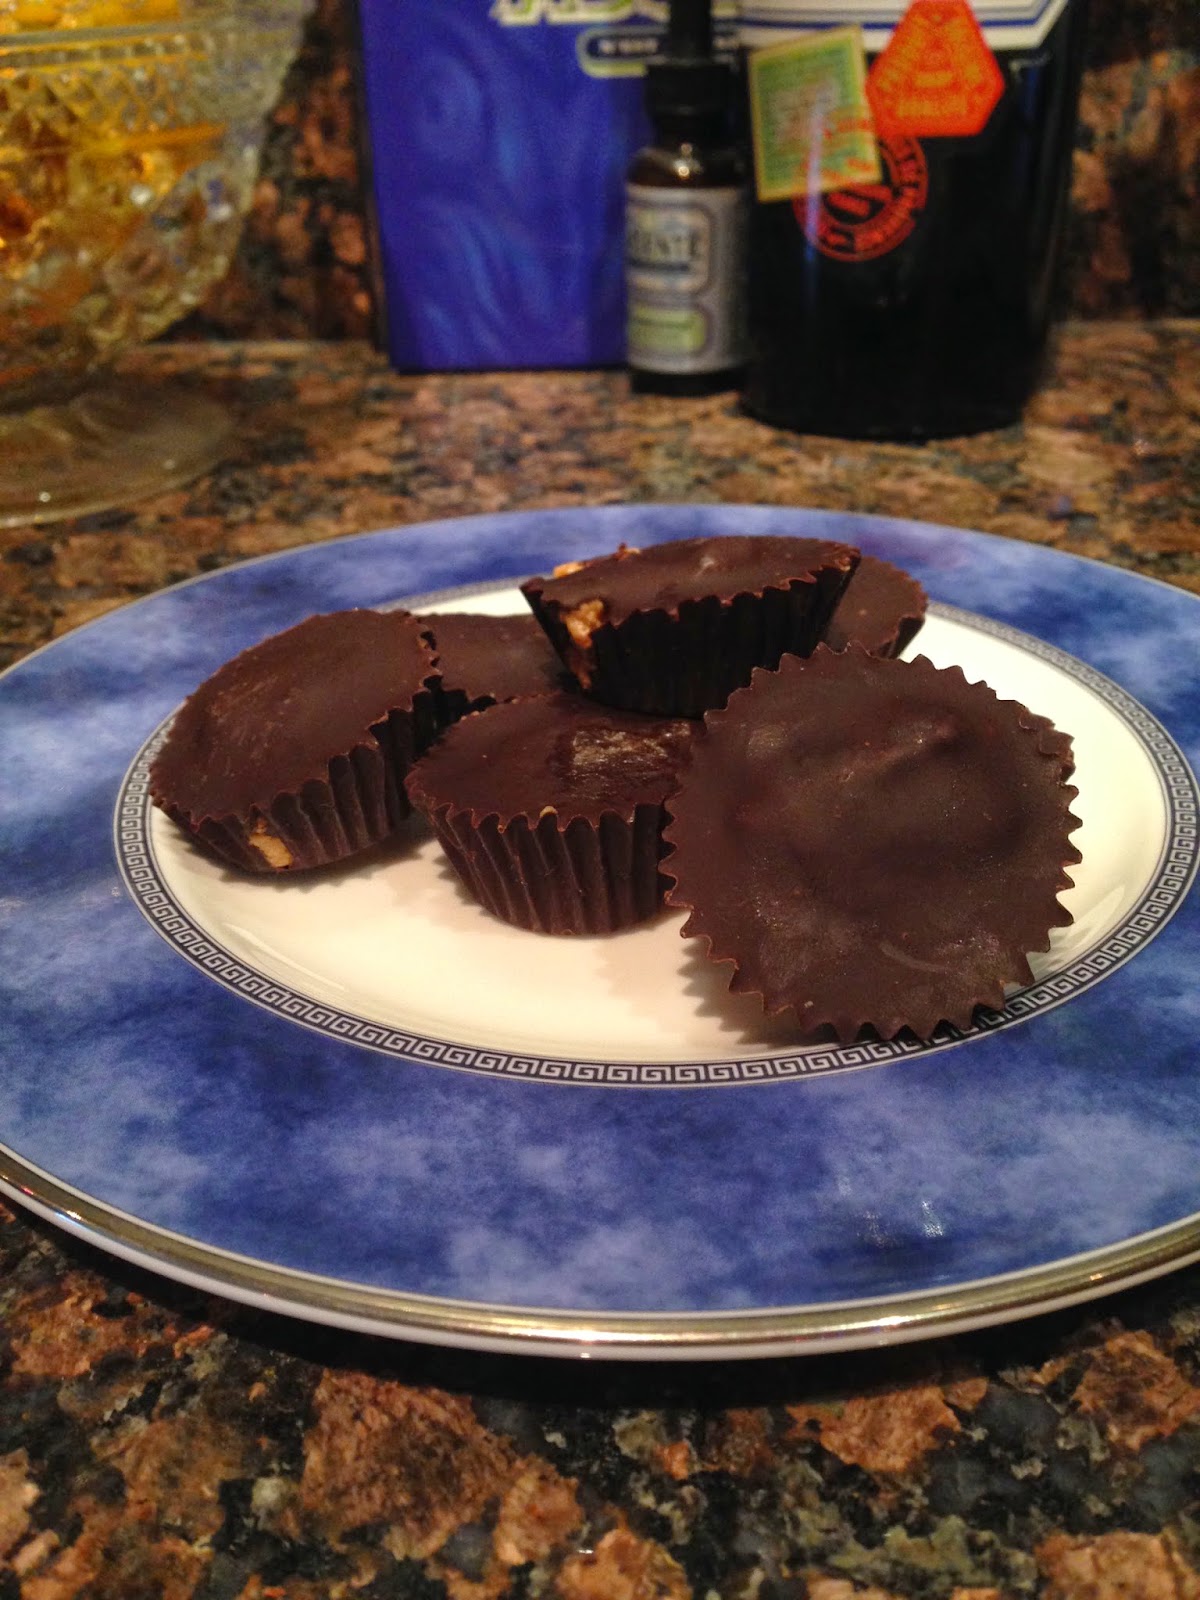
Dark Chocolate Reese’s Peanut Butter Cups
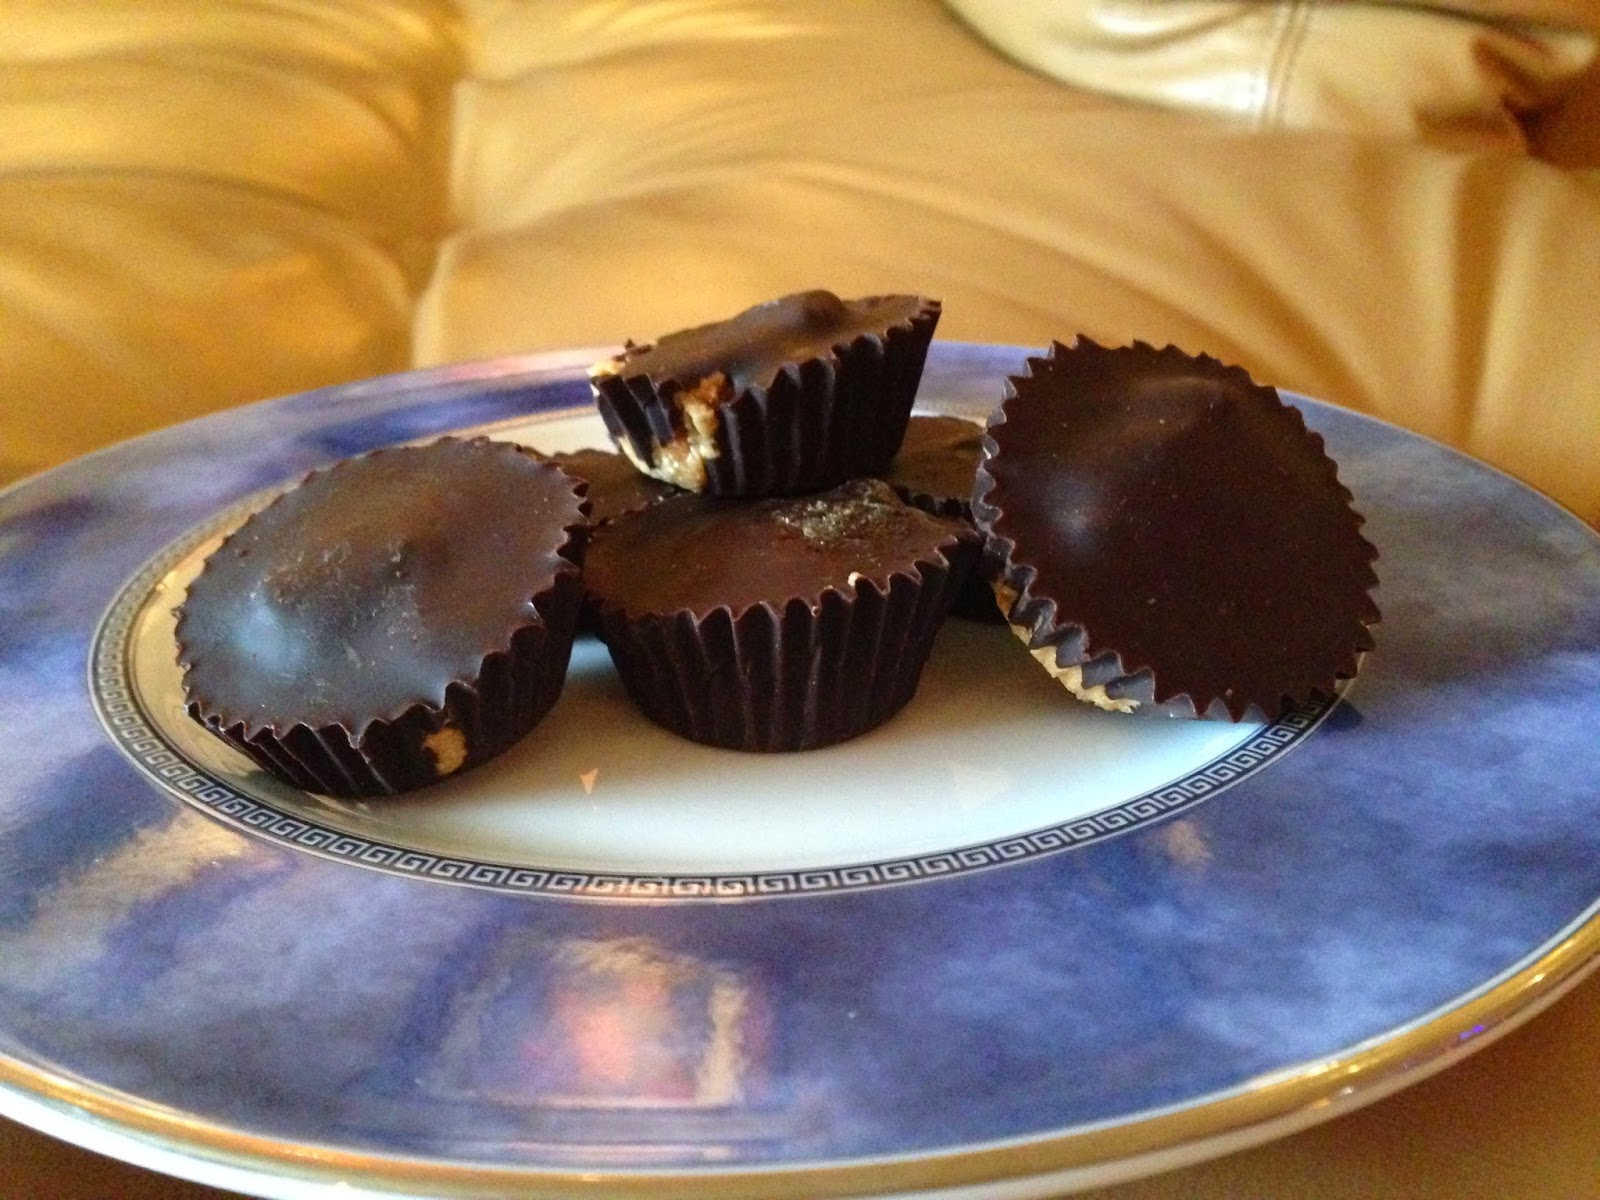
Dark Chocolate Reese’s Cups
Makes 12 Mini’s and 3 Regular Sized in one Batch
1 cup All Natural Peanut Butter
3/4 cup Stevia (measures cup for cup with sugar)
1 Ghirardelli 90% cocoa bar
1/2 Cup Toll House Dark Chocolate Morsels
In a large bowl, gently fold the natural peanut butter and stevia together. Taste test the peanut butter and add little more stevia if you’d like it sweeter. I prefer it sweet since the chocolate coat will be dark and bitter.
Line a mini muffin pan with 12 mini liners and one regular muffin pan with three liners (or whatever mini to regular sized ratio you prefer!)
Wash your hands, then use them to grab a chunk of peanut butter and roll it into a ball, then place it in the muffin liners.
In a separate bowl or coffee mug, melt the morsels and the 90% cocoa bar in the microwave. I used 15 second intervals, stirring it each time until the chocolate was well melted and liquified. Then using a teaspoon, scoop the chocolate into the liners over the peanut butter.
Place the filled muffin pans into the fridge and chill for 2 hours. Then unwrap the individual Reese’s cups from the muffin liners and store in the fridge. I store mine in ziploc bags or glass bowls.

Updated on December 3, 2014
Oatmeal Raisin Cookie Dough
This is for my friend in spin that doesn’t like chocolate 😉
.JPG)

Updated on December 3, 2014
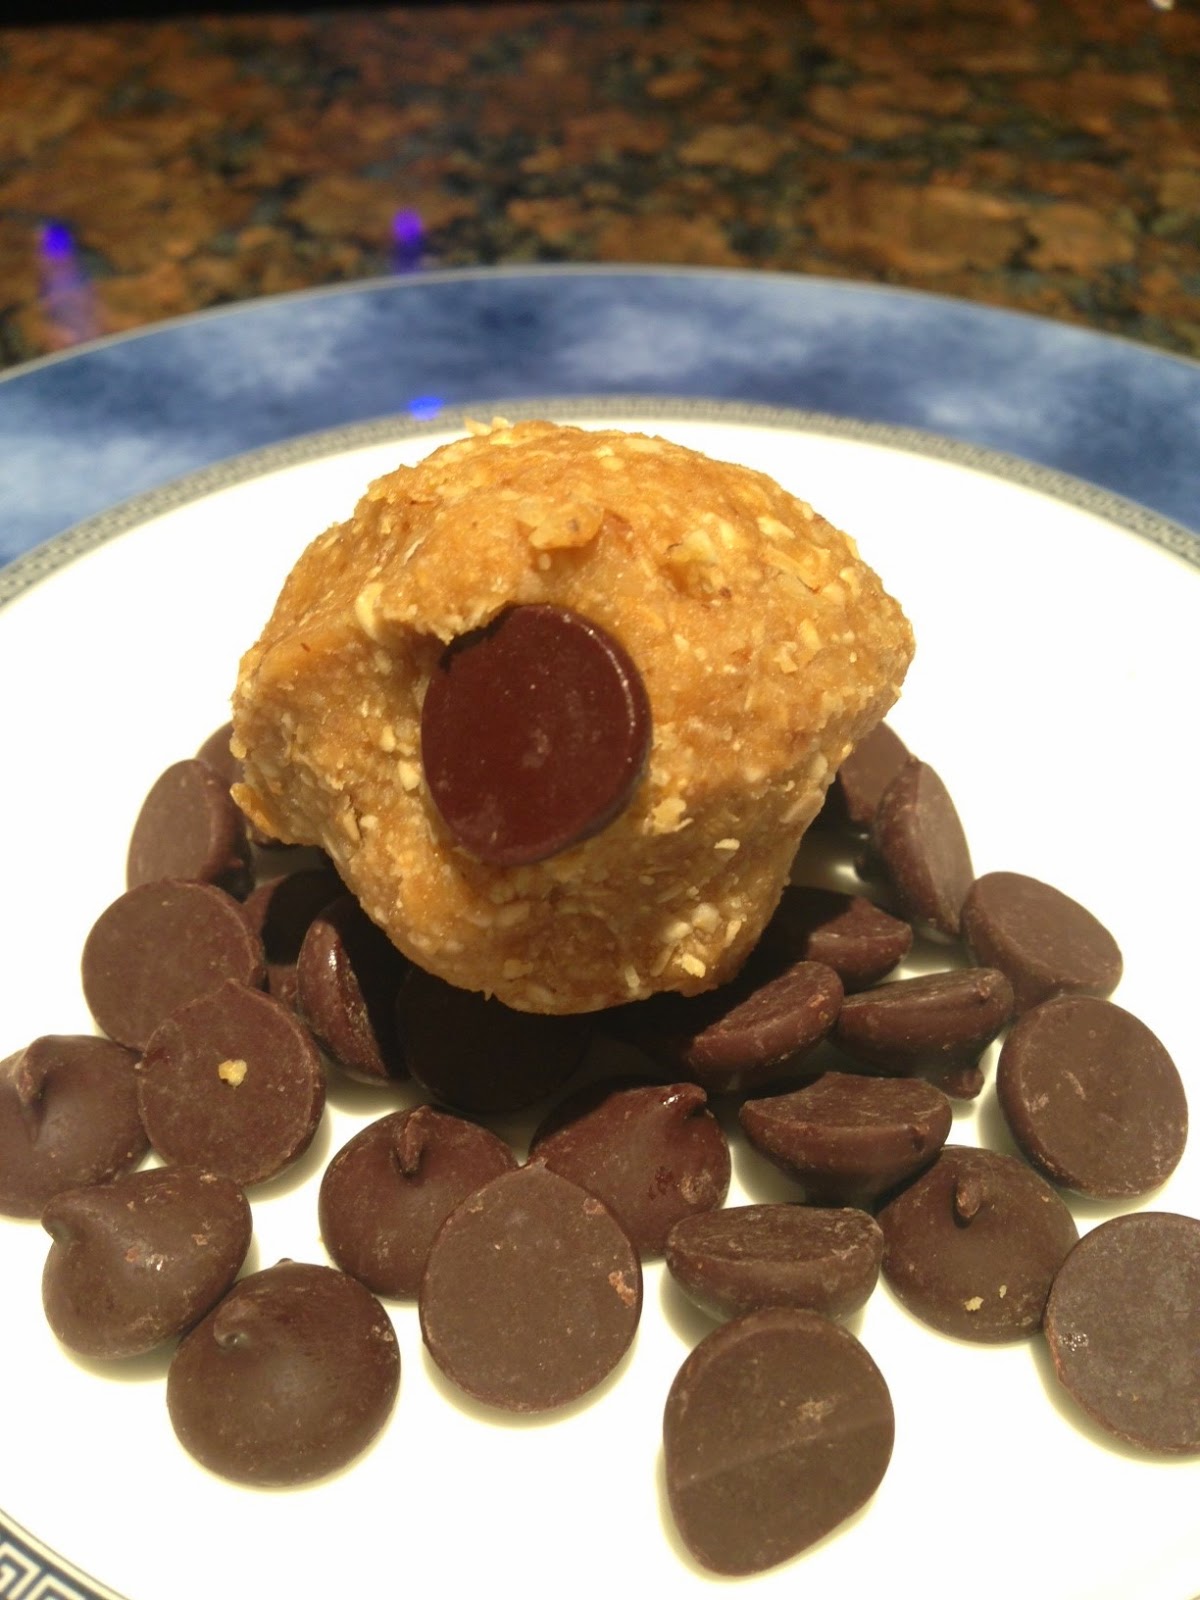
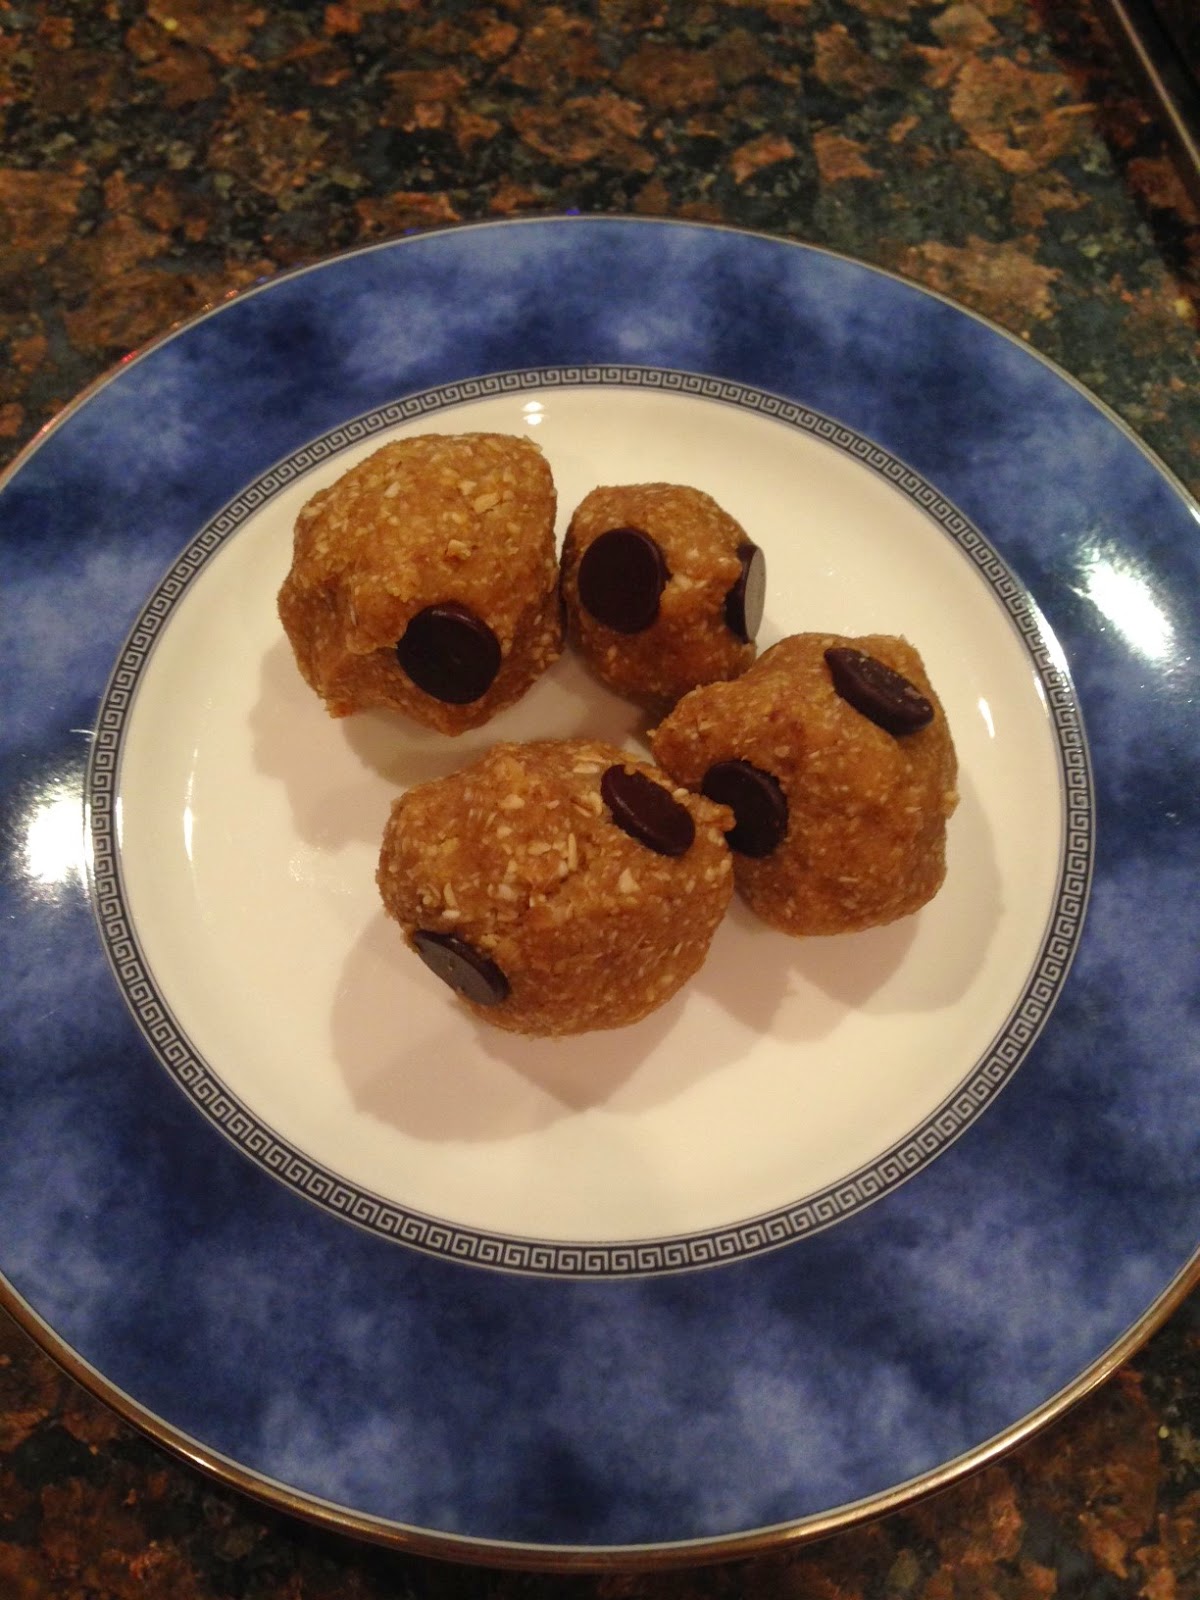
Chocolate Chip Cookie Dough (All Natural!)
My husband and I love cookie dough, but processed foods and raw egg = no bueno.
So I came up with this easy, all natural, great-for-you cookie dough!